4 Easy Ways To Get Turkey Poults To Eat And Drink
So you’ve decided to up your game to raising a few turkeys this year, nice! Turkey poults are super but also a bit different than other young poultry, especially for the first few days.
You’ve probably read that poults are a little bit harder to get started on food and water than chicks or ducklings. So what are the best ways to make sure your poults get started eating and drinking right away?
To get turkey poults to eat and drink, take advantage of their curiosity. Make the feed and water very easy to get to and interesting enough to attract the poults’ attention.
Turkey poults learn by watching other poults use the feeders and waterers, but who teaches the first poult? That’s the catch, since poults can be slow on the uptake sometimes.
We want these characters eating and drinking as soon as they can figure it out. The sooner they start eating and drinking the sooner they start growing!
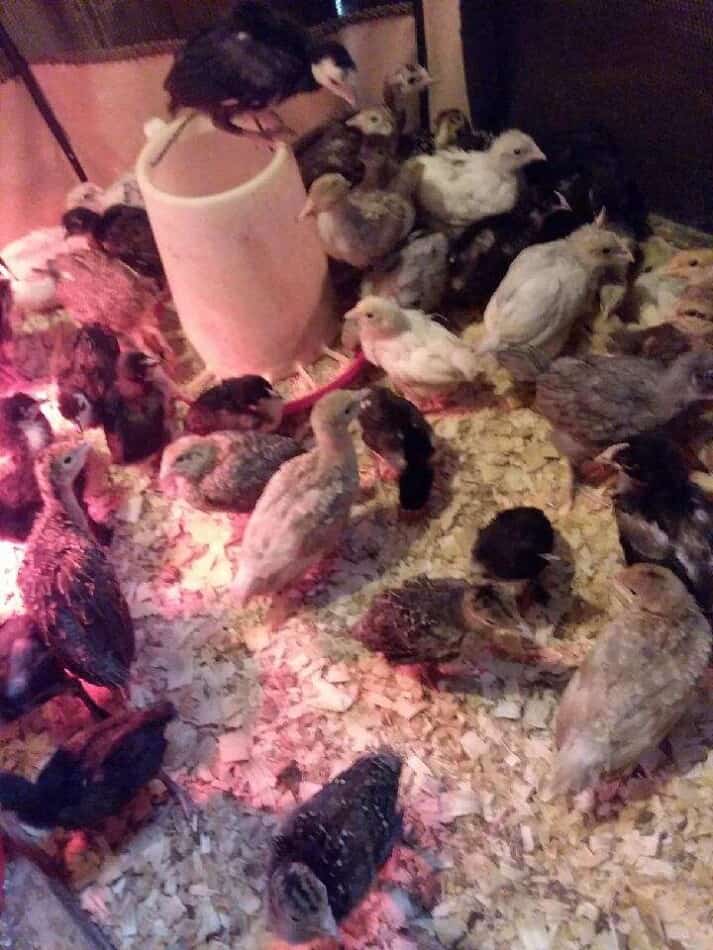
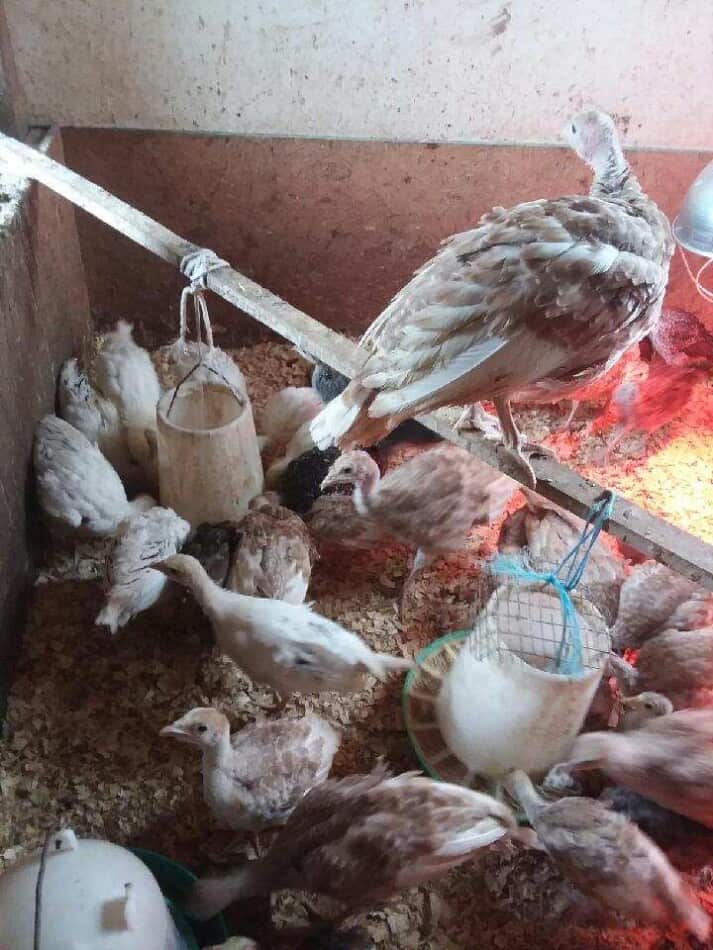
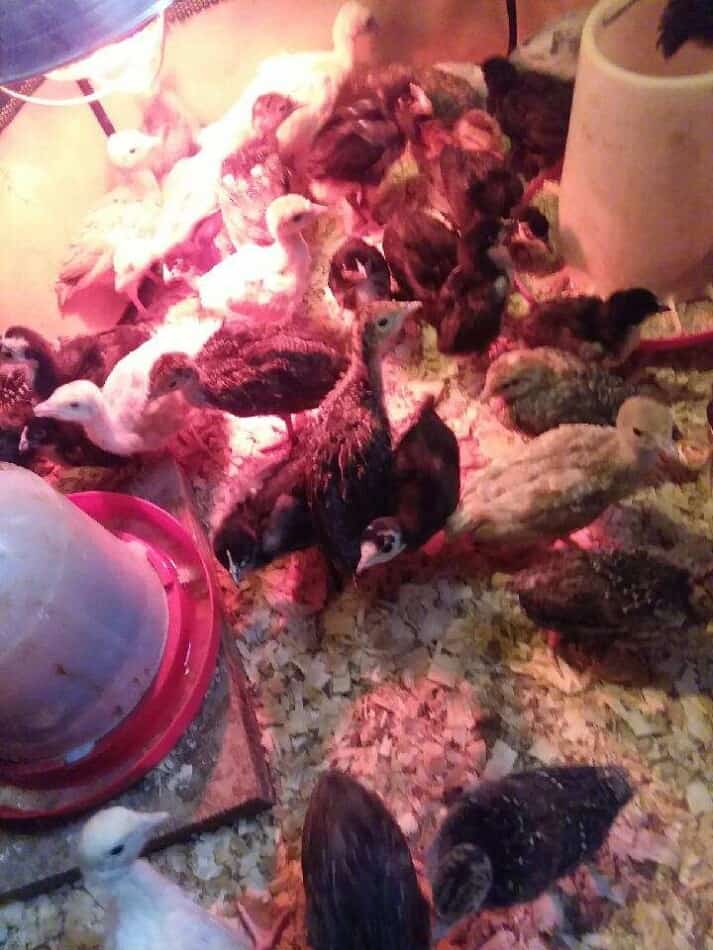
The poults in the picture above are from Echoinghills Farm. These guys are growing great, so you can be sure they are eating well! The poults pictured are Bourbon Reds, Sweetgrass and a few other heritage breed poults, as well.
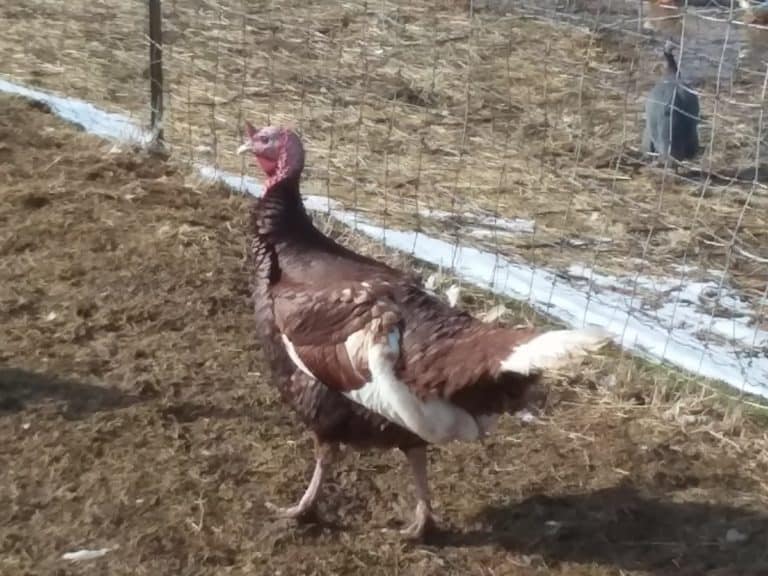
10 Breeds Of Turkeys To Raise is an article I wrote to help you figure out which breed of turkey will suit you the best!
Have a few chicks in with the poults
Since the poults seem to learn by watching, give them some buddies who have this all figured out from the get go, baby chicks.
Chicks seem to “get” the idea of running around and finding the food and water far faster than the poults do.
Plus, a few chicks in with your poults will not cost much to get or feed and for the service they provide, teaching the poults to eat, they are a bargain.
If you have a few newly hatched chicks running about at home, grab two or three and put them in with the poults. Don’t use older chicks or grown chickens, they’ll be mean to the poults! Use chicks that are the same age as the poults.
If you are buying the chicks, be sure to get the chicks from the same place where you get the poults. It’s better not to mix sources when you have birds this young.
Put something attractive in poults’ feed and water
Capitalizing on the “Hey, what’s this? I’ll peck at it and see what it might be” reaction that poults have to new things is another option to get them started on feed and water.
How do you make this happen? Put something attractive in the feeder and waterer troughs that will catch the poults attention but can’t hurt them, like marbles, smaller multi colored stones or tender pieces of young grass.
The ideal attention getter here that you’re looking for big enough to be noticed, way too big to swallow (if it’s not edible) but small enough that they don’t walk right past it.
The grass floating on the surface of the water calls attention to the water in the trough and makes the poults curious. Same with the stones or marbles.
I’d also be sure to put the curiosity catchers in the feed, as well.
Have multiple feeders and waterers for poults
You’ll want to have multiple feeders and waterers spread out evenly and alternately around the brooder. Set up the pen so that the poults almost bump into feed and water, no matter which direction they walk around in.
Once the poults are eating and drinking well, you can rearrange the feeders and waterers if you would prefer them to be in one location, like having the waterers close to the door for easy filling.
To start out, make it nearly impossible for those poults to go anywhere without bumping into food and water. The more times they encounter something the higher your chances that they’ll taste test it to see what’s going on.
What should you be feeding will your poults? Read Best Feed For Turkeys to find which feeds to use and when to switch to a different protein percent feed as the poults grow.
First few days, have feed on newspaper for poults
For the first few days after you get your poults, have the feed sprinkled out on a piece of newspaper on the brooder floor.
They’ll poop on it and waste some of the feed, for sure. That’s okay, since it’s more important that they are for sure finding the feed at this stage.
Once you can see that all of the turkey poults are easily finding feed, move the feeders on top of the newspaper, but keep sprinkling the feed on the paper around the feeder.
When all of the poults go to the feeder without hesitation, you can remove the newspaper and just use the feeders.
The reason for the multi step process here is that you need to be sure to change only one thing at a time and monitor the poults to see how they are reacting to the change.
If they don’t care about the feed being in the feeder, great news. If they are hesitatant to eat out of the feeder, you’ll be risking them being too scared of the “new thing” to get the feed and water they need to stay healthy.
I know it doesn’t make sense that the poults would be scared of a change in feeders or waterers and maybe they won’t be. But if they are, now you know what to look for to keep your poults happy and growing.
Have brooder at correct temperature for the poults
As far as the brooder itself goes, having the correct temperature is key, you’re shooting for 90-95 degrees. Brooder temperature is crucial because poults that are too hot don’t eat and neither do poults that are too cold.
You’ll know your poults are comfortable with the brooder temperature when they arrange themselves in a nice circle around the outside of the heat circle.
If the poults are hot, they will be sitting away from the heat lamp, probably crowing the edge of the pen. If you see this, the poults are telling you they need you to raise the lamp so that they can be more comfortable.
If your poults are huddled up in the center of the heat circle, all piled up, your poults are telling you they are too cold. Lower the heat lamp and consider adding another lamp to the brooder.
Have your brooder arranged so that there is a heated area and an unheated area. This way if the poults want to venture out into the cooler parts they can, but when they want to hang out in the heat, that’s available, as well.
Move the poults’ food and water out of the heat circle
The easiest way to do this is to keep the feeders and waterers out of the heat circles. The poults venture out of the heat circle to eat and drink, but have plenty of space to sit and relax in the heated area when they are full.
Have your heat lamps hanging about 18″ off of the brooder floor and in an open part of the brooder, not near a wall. Notice I wrote heat lamps, you’ll need more than one unless you only have a handful of turkeys, like 5 or less.
Put a thermometer under the heat lamp and see what temperature you are getting in the circle of heat. Are you getting over 90? If not adjust something until you are.
The easiest thing to do is add another lamp is you are having trouble with getting enough heat or raise the heat lamp up a few inches if you are getting too much heat.
A second thing that you’ll need to check for are drafts. Kneel down and see what the brooder feels like at floor level. Put your hand out just above ground level, right where the poults will be standing, to feel and drafts.
Do what it takes to stop the drafts if you feel them. The brooder must be draft free for your poults to be comfortable.
If poults are with mom, she’ll teach them to eat
The great news here is that the hen will for sure teach the poults to eat and drink, no worries on that front! She’ll also be able to keep them warm, so no heat lamp needed either.
However, allowing the hen to stay with the poults is not all roses, there are some adjustments you’ll need to make to your plan and be prepared to pay more than you had anticipated in feed costs.
If you are lucky enough to have a pair of turkeys that hatch their own babies, you’ll want to have the hen and the poults in a secure pen.
To be honest, this has never worked out for us. The hen does not want to stay inside.
If she is okay with being in the pen, she can stay with the poults, but know that it will be costly for feeding her, she’ll suck down the more expensive, high protein feed, too!
You can raise these poults without the hen
Not all hens are going to like being penned up and if your hen is upset about being in the pen, take her out and raise the poults yourself.
If you keep her in the pen when she clearly does not want to be there, the poults, and possibly the hen, will end up getting hurt.
I know it seems mean, but trust me, those poults are toast if you let her wander about with them. Seriously, in a matter of hours she’ll be down to a fraction of the poults she started with.
For the safety of the poults, keep them in a brooder pen until they are old enough to go outside, with the same care you give to poults you would get from a hatchery.
If you were on top of things enough to have her nesting in an acceptable area to begin with, now you just need to keep her and the poults in the pen until they are big enough to venture out.
Our turkey hen always picks a hidden location so penning her up with babies will not go well.
If you are looking for more information on brooding turkeys, consider reading Brooding Turkeys Successfully by Dan Cunningham from the University of Georgia.
Photo credit: Echoinghills Farm, this is a picture of one of Echoinghills Farm’s brooders full of heritage breed turkey poults! You can see a nice big Bourbon Red poult perched on top of the heat lamp rail.