How To Pluck Chickens Without A Plucker!
Your chicken processing day is coming quick! Plans are all in place and things under control, or so you thought!
Then a huge complication: your plucker is back ordered, for 3 more months!
Now what? Consider hand plucking: it’s simple, easy to learn and faster than you think!
To pluck a chicken by hand, repeatedly dunk and swish the bled out bird in a 5 gallon bucket of hot water (160 degrees) for 1 minute to scald. Take the scalded carcass to a table and pluck the feathers, starting with the longer wing feathers. Plan on spending 2-3 minutes per bird for plucking, once you have some practice.
When we are butchering just a few chickens, we hand pluck, even though we have a plucker.
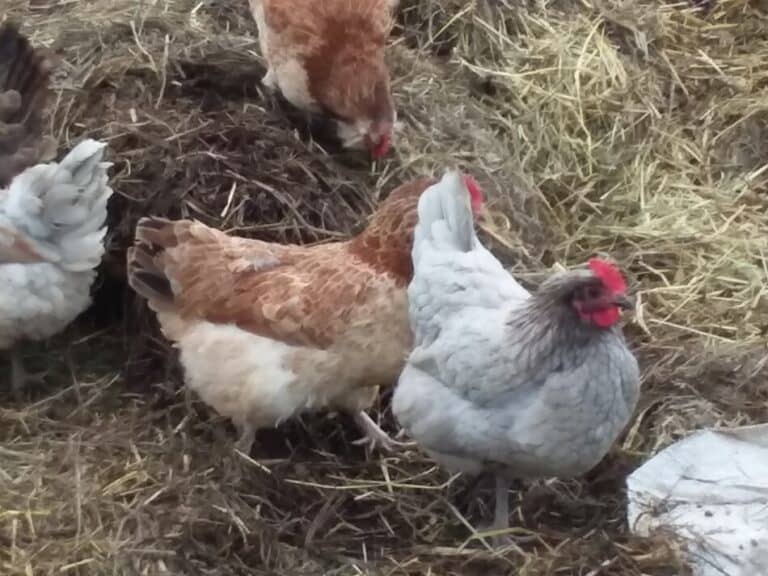
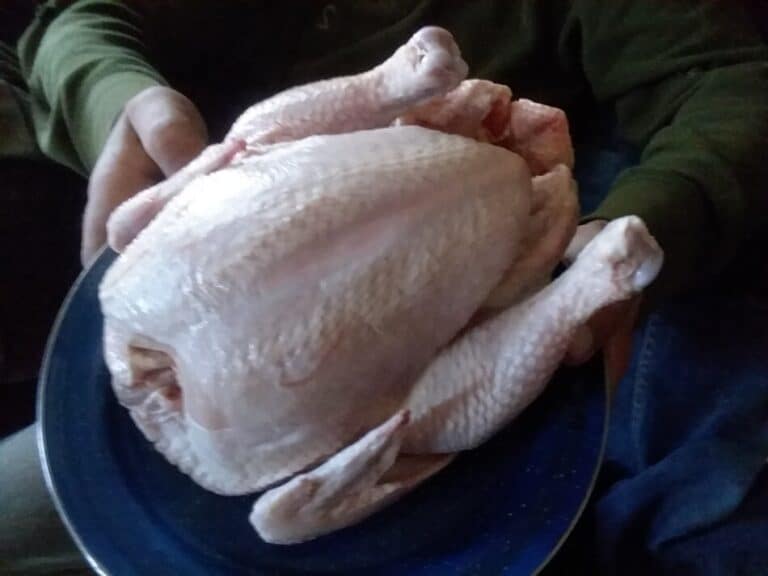
The chickens pictured above are two laying hens that we hand plucked yesterday. You can see a few hairs at the tip of the wing, but otherwise they plucked beautifully!
Is Raising Chickens For Meat Worth It? goes over the budget for your meat chickens, including butchering costs.
We have butchered our fair share of chickens, both small and large batches.
When we are doing a large amount of birds at one time, like broilers for the freezer, we definitely use it!
But when we are just butchering one or two birds, we pluck by hand.
Interested in more about raising meat chickens? Check out my article Cornish Cross vs. Red Ranger Broilers.
Meat For A Year goes over the combinations of various animals, some you may not have though of, that you can raise to supply your family with a year’s worth of meat.
Key points for hand plucking chickens
- 160 degree water
- Scald for 1 minute
- Done when leg feathers come off easily with thumb swipe
I know these are not the specific instructions you’ll get from other places, but this is the method that works well for us. We scald all poultry this way, ducks, geese, everybody, and it works well.
You’ll need hot water and a 5 gallon bucket to hand pluck a chicken
It really is this easy, hot water and a bucket. We use the water straight out of our hot water heater at 160 degrees. I know that is higher than other folks recommend but this is what works for us!
We like 5 gallon buckets, in order to totally submerge the bird in the hot water. When the whole bird fits into the hot water at once, the scald is even. This means that all of the feathers on the bird have loosened up at the same time.
If you don’t get all of the bird properly scalded the feathers in the less scalded areas will not pull out. This problem is easily avoided by using a container that will hold the entire bird and plenty of scalding water.
The scald is the key to successful plucking!
Plucking the birds is the biggest challenge on a beginning chicken processor’s mind (after bleeding them). That’s understandable, but not the main thing to concentrate on!
What could be more important than plucking? The scald: it’s critical!
Getting the scald right will make or break your chicken processing experience! Seriously, a bad scald will cause plucking to take much longer than the 2-3 minutes listed above.
No need to overthink this, you can always re scald the bird. It won’t pluck as well as if you had the initial scald right, but an improper scald can be redeemed.
The easiest way to get the scald right the first time is to have your set up ready to go and pay attention to the thumb swipe (see #4 below).
How to scald the chicken
- After the bird has bled out, dunk the chicken in the scalding water.
- Use a stick to keep the bird under the water.
- For 30 seconds to 1 minute, push the bird down to swish it around in the water. You want the bird to go up and down in the bucket.
- Check for loose feathers at the bottom of the leg by swiping your thumb sideways across the leg feathers.
- When feathers swipe off with thumb remove bird from water and pluck.
Swish the bird up and down in the water
Please use a stick to keep the bird under the water! This water will burn you, keep your hands out!
The reason to use the stick to swish the bird around in the scalding water is to help the water penetrate the feathers and get to the skin.
It can be hard to move our focus away from the feathers, we want them gone! So true, but to remove them we need to loosen up the skin!
The scald works by the hot water loosening up the pores in the skin, it really doesn’t do anything to the feathers at all!
Don’t check the primaries, check leg feathers
It is commonly written that you are to check the scald by pulling out the primary feathers (the biggest feathers on the wing).
We have found that is not the best place to check.
The primaries seem to loosen up earlier than the rest of the feathers. When the primary feathers come out easily, you are getting close, but need to go a bit longer yet.
I know putting soap/detergent in the water to help the scald water move through the feathers is recommended by some authors, but we don’t bother.
We used to use the soap but stopped putting it in the scald water. In our experience, it didn’t seem to make a difference either way.
Moving the bird in the water is far more useful than using soap or detergent. Skip the soap and swish the bird!
Time needed to hand pluck a chicken.
Once you are on your game, hand plucking a chicken will only take you 2-3 minutes each.
After the scald is complete, you checked the leg feathers, right? Put the scalded bird cage top or other stable surface at a comfortable height for you to work.
Start with the wing feathers and move quickly over the rest of the bird. You will probably miss a few feathers on your first time going over the bird, just keep moving.
You want as many feathers out as quickly as possible. The bird will cool off and the feathers will not come out as easily. Get plucking!
When you have completed you initial plucking of the entire bird, most of the feathers should be gone.
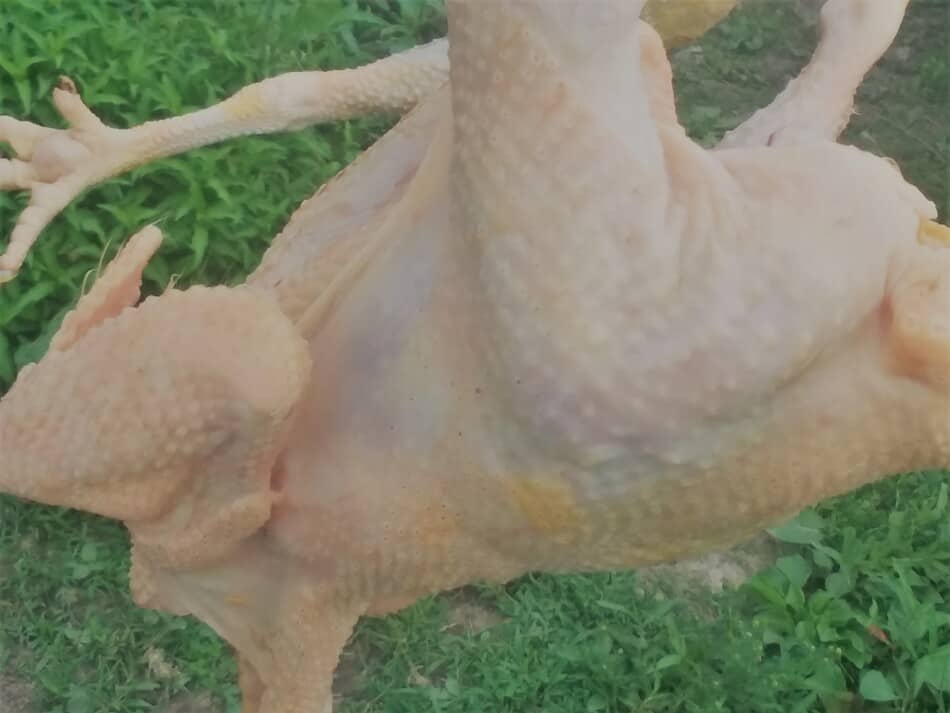
Check under the wings and between the legs and body for the harder to see feathers you may have missed.
Now that most of the feathers are plucked you can go back over the bird to get any feathers or pin feathers you may have missed.
With practice, you’ll be able to pluck chickens quickly
You’ll get faster as you go. Once you’ve plucked a few chickens, you’ll be able to move much faster than you were with the first few!
Seriously, we hand pluck all the time.
For just a few chickens or ducks, getting the plucker drug out of the barn, back up here and all hooked up takes longer than just grabbing a bucket of hot water and plucking.
Here’s a link to a University of Wyoming article on processing your own chickens if you want a little more information!
You can hand pluck other birds, too
The easiest birds to pluck will be broilers, followed by stewing hens, but you can hand pluck any bird.
If you are considering plucking other birds, give it a try. All of the benefits listed below apply to all of the birds you would want/need to pluck.
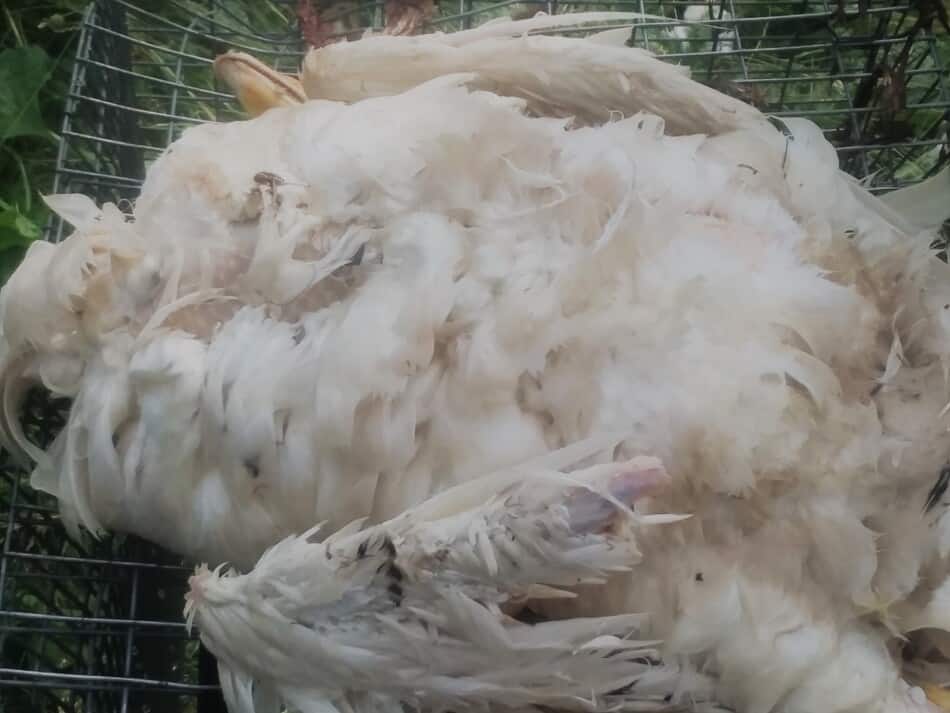
We just hand plucked a goose yesterday. In case you are unaware, waterfowl are much more demanding to pluck than broilers, but they can be done by hand, as well. Once again, it all comes down to the scald.
Reasons to hand pluck your birds
Actually, there are some really great reasons to hand pluck your birds:
- Keeps costs down
- Fast and easy set up
- Uses common items
- No electric needed
- No risk of damage from plucker
- Plucker broke/stopped working
Keep costs down by hand plucking
As I wrote above, we have a plucker and love it for large batches of chickens. But if we were just starting out, hand plucking would be the way to go.
Pluckers are a chunk of change! That’s a lot of money to part with, especially when as a beginner, you don’t know if you even like raising your own meat chickens!
Start small, consider hand plucking or rent or borrow a plucker and see how things go for you before you shell out for the plucker.
Hand plucking is a fast and easy set up
Since all you need is the hot water, a 5 gallon bucket and a stable surface for the bird, hand plucking is easy to set up and clean up!
To hand pluck chickens, you use common items every person already owns
Once you really get into butchering chickens and you decide to invest in a plucker, super!
Until then, things you already have at home will work great for plucking your first few chickens.
This is one of the best things about butchering your own birds, it can be done with just a few basic items. Hot water and a bucket, now we’re talking easy!
No electricity is needed to hand pluck
I know I take for granted how electricity is easy to get anytime I want it, but I realize that isn’t the case for everyone.
Whether you have no power or just limited power, once you learn to scald and hand pluck, you are good to go!
No risk of damage to the carcass from hand plucking
If you have never used a plucker you may not realize that it can really chew up a bird. Not all of the time of course, but it does happen.
We see this plucker damage most often when we are trying to run the bird in the plucker longer to get some of the more stubborn feathers off.
This happens a lot with ducks or birds that are starting to stiffen up.
The plucker will start to rip skin and dislocate joints on birds that you have in the machine for too long.
The plucker is broken/stopped working
Sadly, we have had this happen, as well! Luckily we tested the plucker before we started putting the birds in the cones!
We would turn on the switch, hear the motor run, but no part of the plucker moved.
The good news is our son is very mechanically talented. He fabricated the part we needed (out of some truck parts) and fixed the plucker. It still works great.
If we were in a rush or didn’t have such a handy son, we would have been plucking by hand for that batch, for sure!
The plucker is back ordered, yikes!
The main reason I wrote this article is because as I was reading through one of the online groups I am in, this one about raising your own food, another gal wrote asking for help/ideas.
She has broilers due to butcher in less than three weeks (it’s late June, now) and the plucker will not show up until September! Yikes!
She is a beginner and ordered the plucker to make her first time butchering chickens go a bit more smoothly.
Now she is very frustrated, broilers don’t wait!
She has 25 birds to do, so I suggested that she start butchering a few early, anytime she has some spare time, to get through the group of 25.
The early butchered broilers will be what is called Cornish Hens, really just small sized broilers.
By starting early, she will be able to get the whole group done close to their planned slaughter date.
After she plucks a few, she’ll be much more confident and be able to crack those birds out in no time!
Give hand plucking a try
I know hand plucking can seem a bit intimidating at first, especially if your plan was to have the plucker do it for you!
Never fear, it’s really easier than you think to hand pluck a bird.
You’ll improve tremendously after a few birds, you just need to give yourself a bit of practice!
Concentrate on the scald, swish the bird in the water, check the leg feathers and you are good to go!