How To Successfully Use A Still Air Egg Incubator
Deciding to hatch your own eggs can open up the world of poultry to you and your family!
With a bit of planning and care during incubation, you can have a great hatch with a still air incubator.
Successful still air egg incubation requires starting with fresh, unwashed fertile eggs and monitoring the incubator for temperature and humidity through out the incubation period.
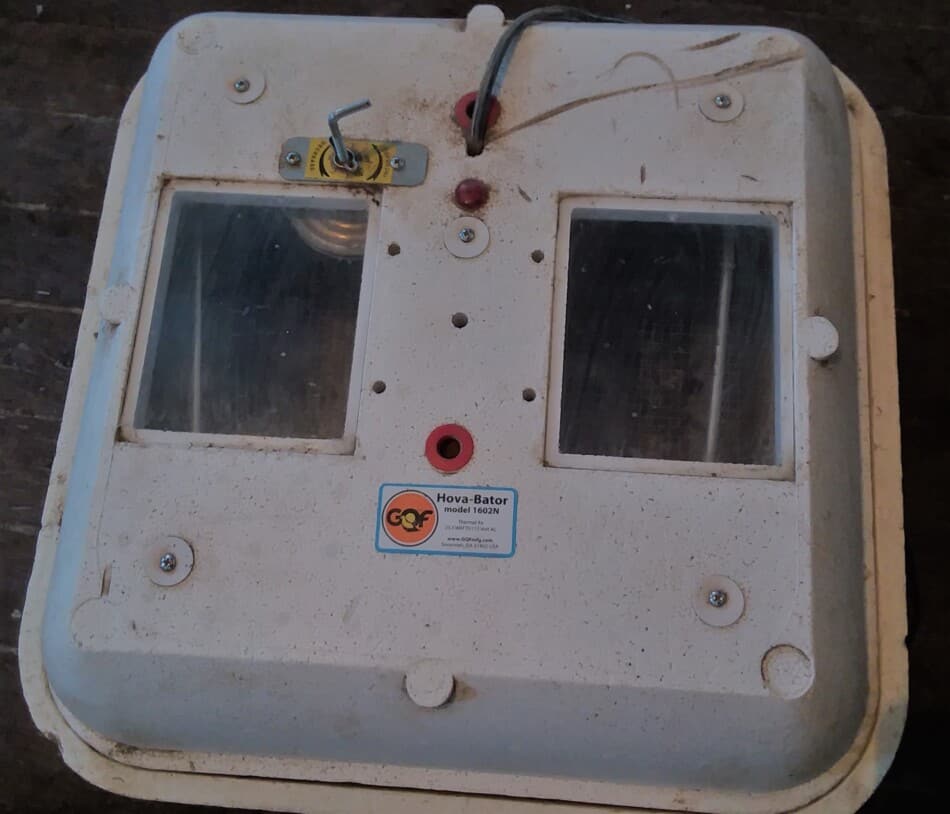
We have hatched our own eggs for years in a basic Styrofoam incubator that we get for less than $50 at the local farm store.
These incubators work well and can give you reliable hatchings as long as you do your part!
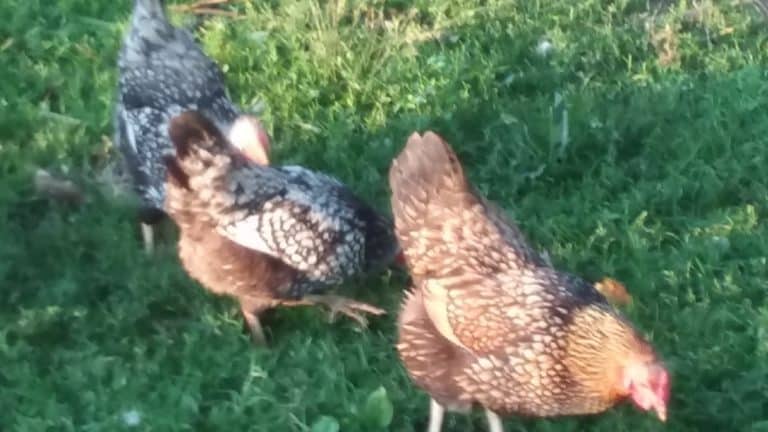
We have hatched all manner of poultry, including chicks, ducklings, geese, guinea keets, quail and peafowl using this type of an incubator. You can, too!
Is Raising Chickens For Eggs Worth It? is one of my articles going over all of the costs and considerations you need to think over when raising your own chickens.
Use a larger sized incubator, not the small ones
Large incubators will have a more stable temperature than a smaller incubator.
I know there are some really cute little table top style incubators available to buy, resist the temptation.
Get an incubator with some size, like the square Styrofoam ones.
Set up the incubator a day ahead of putting in the eggs
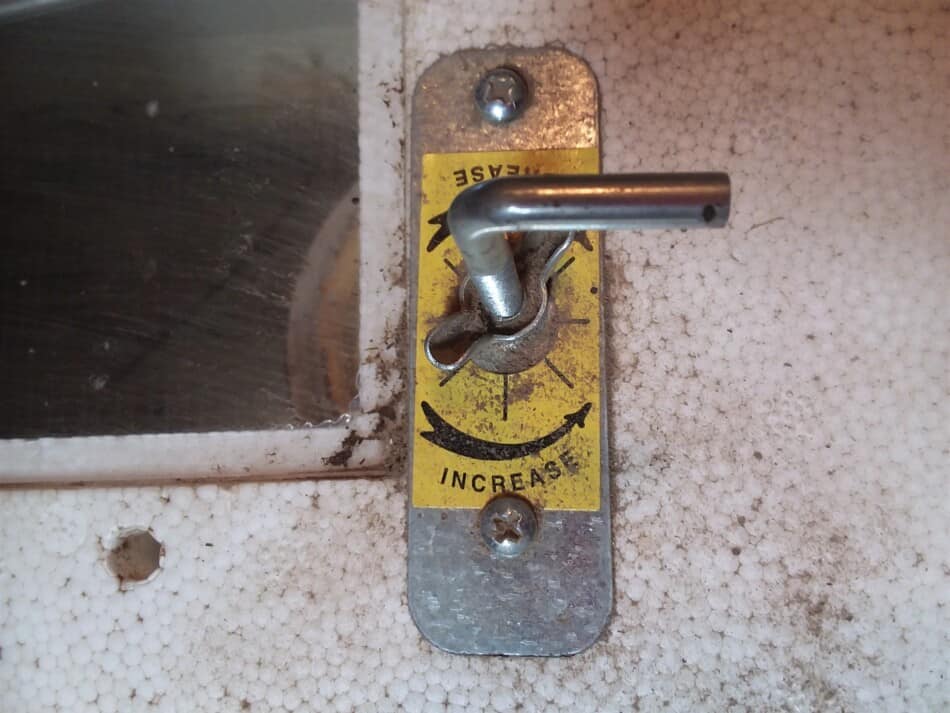
You’ll want to do a “practice run” with your incubator to make sure that it is holding temperature and to get it set close to what you’ll need to incubate your eggs.
If your incubator adjusts manually, this will take some fine tuning. Have patience, you’ll get there!
Incubate chicks at 100, waterfowl at 103
Be sure you are setting your temperatures at the right level for the eggs you are hatching.
Chicken eggs need to incubate at 100 degrees for 21 days.
Duck eggs need to incubate at 103 degrees for 28 days.
The hatching needs for each bird differ slightly, so keep each incubator to one species of egg at a time.
Incubate one batch of eggs at a time
Also, start the incubator with all of the eggs you are going to use, do not add eggs as you go. This is how the hen (duck or chicken) would do it, as well.
Be sure to mark the start of incubation on your calendar, to eliminate confusion and ensure you are candling on the right days.
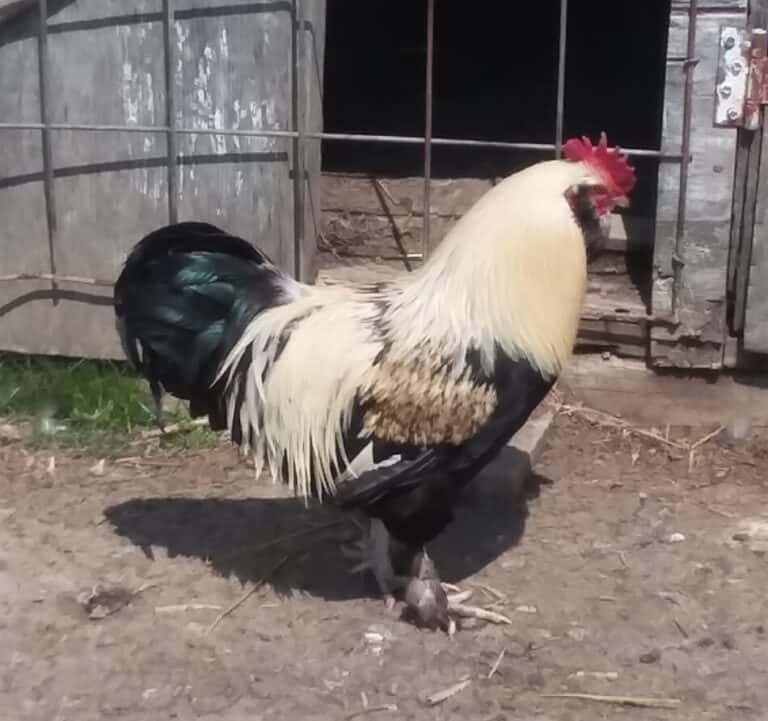
Use fresh, fertile, unwashed eggs to hatch
Fertile eggs for hatching should be:
- perfect in shape and size
- less than one week old
- kept at room temperature
- stored on an angle
- not washed
The eggs you choose for your incubator need to be perfect. No cracks, weird shapes and no dirt. Even if you are willing to wash off the dirt, still no.
The outside of the egg has a layer called the cuticle or bloom. This layer will get removed by washing, don’t do it. Use clean eggs only.
Hatching eggs also need to be fresh, less than one week old. Hatching eggs should be stored at room temperature and on an angle.
Do not put these eggs in the fridge, that’s not how a chicken would do it!
What about the angle part? A chicken doesn’t angle her nest! True, she doesn’t but she does tend and turn the eggs even before setting.
This is the behavior that you are mimicking by angling the carton of hatching eggs.
Change the angle of the hatching eggs once or twice a day, until you have enough of them for the incubator.
Check the egg incubator frequently during the day
We are talking, check it 20+ times per day. The reason for all of this checking is that you need to make sure that the temperature is holding.
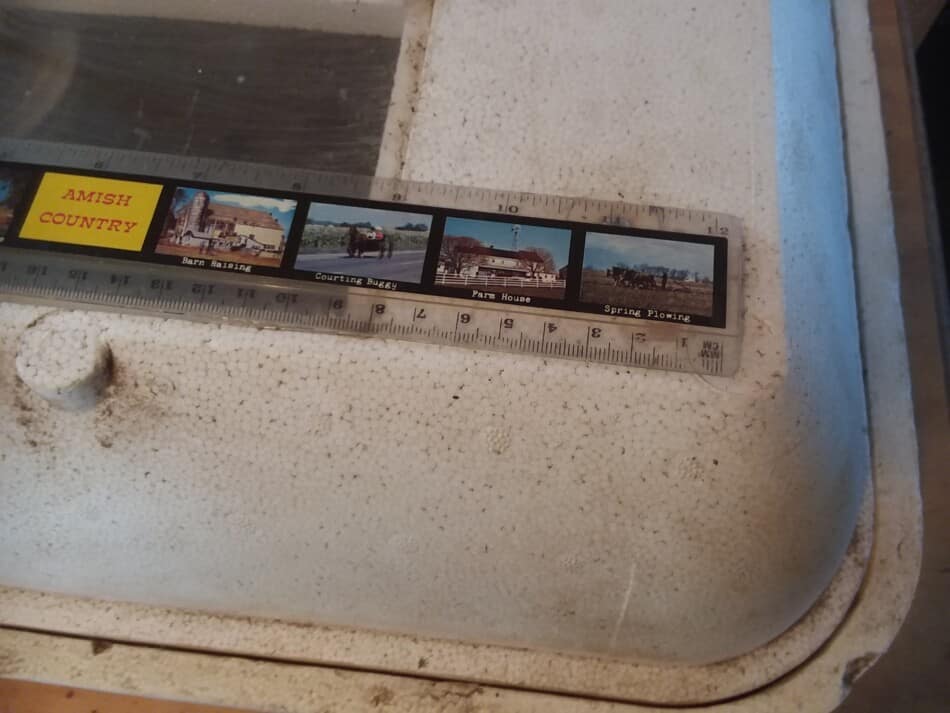
To check the incubator, you look into the observation window on the top.
You are looking at the thermometer you have placed under the window, but on top of the eggs.
If the incubator is in a room that does not have a steady temperature, all of this checking is critical.
As the room changes temperature for the day or night the incubator will need adjusted, as well.
For example: using the incubator in an uninsulated garage or on the porch will be more difficult (due to temperature fluctuations) than using an incubator in the house.
You will have to open the incubator
You’ll need to open the incubator to check for that there is water in the bottom and you’ll need to turn the eggs, unless you have automatic turners.
After you open the incubator for your turning or humidity checks, check back very often to see that it has returned to the appropriate temperature.
Don’t open the incubator during temperature checks, just look through the viewing window and see how the temperature looks on the thermometer.
The eggs will start producing their own heat
After a few days, as the embryo grows inside the egg, it also starts to put off heat.
Up until now, you have been providing all of the heat, now the eggs are putting off some heat as well.
This is the main reason for your continual checking of the incubator. If your digital incubator is working correctly, it should adjust automatically.
You should double check, to be sure!
If your incubator is manually adjusted, you need to be on your game here.
Make small adjustments to the temperature setting and check back in 10-15 minutes to see how it worked.
Top heat from the incubator mimics the hen
When the hen (duck or chicken) sits on eggs, she only provides heat from the top. The humidity would come from below (the environment).
The hen will also get off of the eggs multiple times per day. She’ll be gone for a short time only, but she would naturally leave on a daily basis.
The reason this matters is you need your incubator to be mimicking the hen.
Anytime you are doing something for your incubating eggs, ask yourself “would the hen do this?”
Top heat with humidity from below is the natural set up the hen would provide for incubating eggs.
Hens allow cooling of eggs at times, as well. Once again, normal and has worked for ages!
Use egg incubator in a dark room
Ideally, the room you use for your incubator should be dark. This means no windows and no sunlight.
This is another temperature control measure.
You can modify the room of your choice by hanging a heavy curtain of some sort to block the window. We use an extra blanket.
Turn eggs 4 times per day
Keep track of when you turn eggs. Set a schedule and check off the times to make sure you get the eggs turned enough times everyday.
If you have the automatic turners, don’t worry about this section.
Candle eggs at day 9 and day 15
If you are going to candle the eggs that you are incubating, do so at days 9 and 15.
The reason to candle is to remove any non growing eggs from the incubator.
You can candle eggs at day 9 to make sure all embryos are growing.
Candle again at day 15, then leave them alone.
Candle a few fresh eggs, first
Believe it or not, the first eggs you should candle are fresh eggs.
Why? Because you know for sure what you are going to see.
Candling fresh eggs will show you what the inside of an egg looks like before incubation begins.
Fresh eggs will be an important point of comparison for you when you start candling the eggs that have been in the incubator.
At day 9 you are removing any clear eggs
At day 9 you should see a network of blood vessels radiating out from a dark center. These are the eggs that are progressing as expected!
The eggs you are looking for at this stage are the clear eggs. At day 9, any clear eggs are not growing and should be removed from the incubator.
Any eggs in your incubator that still look like a fresh egg inside are not progressing.
At day 15 you are looking for blood vessels
At day 15 you are looking for blood vessels near the air sac and a large, dark shape that may move, that, of course, is the chick.
A simple way to candle eggs is be in a dark room and shine a flashlight through the shell of the egg.
Hold the egg right next to the light, you want the light to come through the egg only, not escape out the sides.
Do not candle during the last three days of the incubation period!
The last three days of incubation the chick is orienting itself to hatch, move the egg and you mess up the orientation.
Chicks may take longer than 21 days
Your chicks may take longer than 21 days to hatch. Be patient and do not start messing with the eggs. Give them time.
If you have done your part and managed the incubator correctly, the chicks will hatch. If they take another day, okay. Let them work it out.
Incubation taking longer than the normal 21 days is very likely if you had temperature regulation problems.
If you get to 25 days, then something is seriously wrong.
If the incubation is just 22 days, give them some more time to start hatching.
Do not “help” a chick out of the egg
The chick (or duckling) needs to come out of the egg on it’s own.
One of the last things that happens to a chick before it fully hatches is the remainder of the yolk is absorbed.
This is how the chicks and ducklings can be shipped and not need food for the first two days.
When you “help” a chick, you do not know if it has absorbed the yolk yet. The yolk is vital to survival of the baby, don’t mess!
Set up the brooder area once you see hatching activity
You’ll want to have a brooder area set up for the hatchlings that is warm and secure.
Turn on the heat source and have the brooder at the right temperature before you put in the chicks.
You want to have everything “ready to go” meaning bedding put down and having the waterers and feeders full and in place.
Keep chicks in incubator until they are dry
Keep the chicks or ducklings in the incubator until they are dry.
At first they will be a wet mess, but give them some time and they will start toddling around!
Once you have a few dry babies, move them to the brooder.
Turn off the incubator 3 days after the hatching date
As fun as hatching chicks and ducklings will be, prepare yourself for the likelihood that not all of the eggs will hatch.
If you did the candling at days 9 and 15, you’ll have most of the duds out already, but there still can be a few that don’t make it through the last few days.
You’ll be keeping the hatchlings in the incubator until they are dry, so you are running it anyway. Probably for two days after the hatching date.
We turn off the incubator 3 days after the hatching date, when you are not seeing any more cracks appear on the eggs.
Clean the incubator right away
Before you start another batch of eggs or put the incubator away in storage, be sure to clean it.
The incubator should have instructions that come with it, including recommended cleaning procedures.
We wipe it out and then sterilize it by setting it in the sun for a day or so.
Carefully consider your cleaning supply use, anything you put on or in the incubator could affect the next batch you try to hatch.
Get “A Guide To Better Hatching” by Janet Stromberg
This is the best book on hatching we have ever seen, by far. This little gem is packed with wonderful information, charts and pictures.
Our copy was published in 1975, but don’t let that throw you. We use it all of the time and have yet to find better.
If you are looking to dig a little deeper into your hatching and start dialing in your process (and success!) consider getting this book! (link to Meyer Hatchery)