New To Shearing Sheep? How To Set The Combs And Cutters

After you have purchased a set of clippers, now you are ready to get started shearing your own sheep! How to work the clipper is easy, plug it in and turn it on. But yikes! How do you set those combs and cutters?
The blades, the comb and cutter, must be set to the correct tension and so that the entire cutting surface from each blade is touching the cutting surface of the opposing blade.
Your new clippers probably came with blades. If the blades are on the clippers, just be sure to use plenty of oil before you turn them on.
It’s also a good idea to double check the alignment of the blades to be sure that they are set appropriately.
There are multiple points of adjustment on the clipper head that need to be checked before shearing.
At first this will be a puzzle and a bit of a guess and check! Make an adjustment then see what results your adjustments are getting you, and probably adjust again.
Soon enough, you’ll get to where the adjustments are easy for you. It just takes some practice.
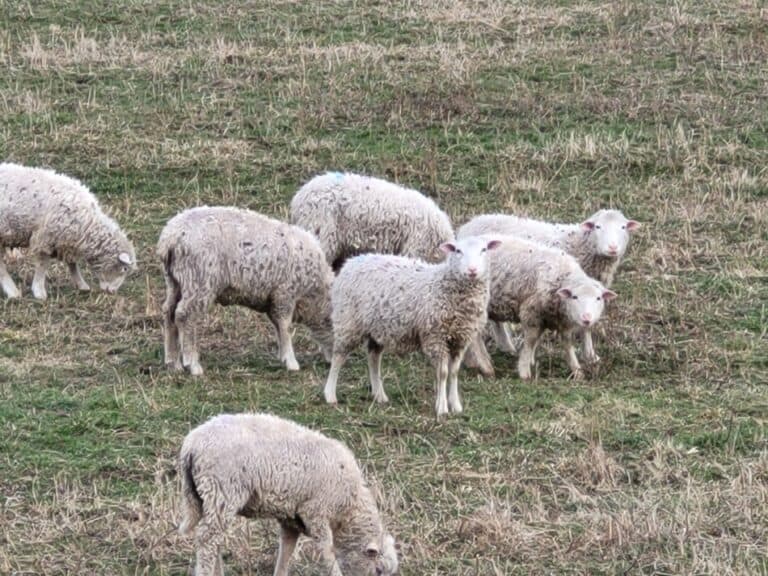
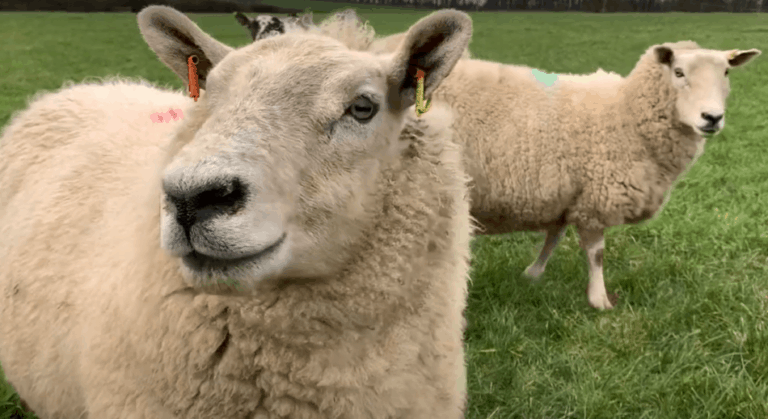
When To Shear Sheep is an article I wrote to bring up some of the considerations for when you plan to shear, including weather, breed and time before lambing.
Aligning the working edges of the blades
The comb and the cutter both have a rounded side that will have writing on it and a sharpened side (the working side). Place the blades in the clipper head so that the sharpened sides are together.
The writing will always be on the outside of the blades when the comb and cutter are together and the cutting or working sides will always be facing each other.
Choosing blades
Most brands of blades will fit most shearing machines. Notice I said most, not all.
Double check the holes in the top of the blades you are going to buy to make sure then match up with the holes in the blades you have, since you know your blades fit your machine.
If you are looking for a complete guide to your shearing equipment choices look at my article Sheep Shearing Equipment For Beginners.
I go into much more detail on what your options are regarding clippers and blades and which option is best for which situation.
If you just want to get started and learn the specifics later, use a 13 tooth goat comb and a four point cutter.
Setting the comb
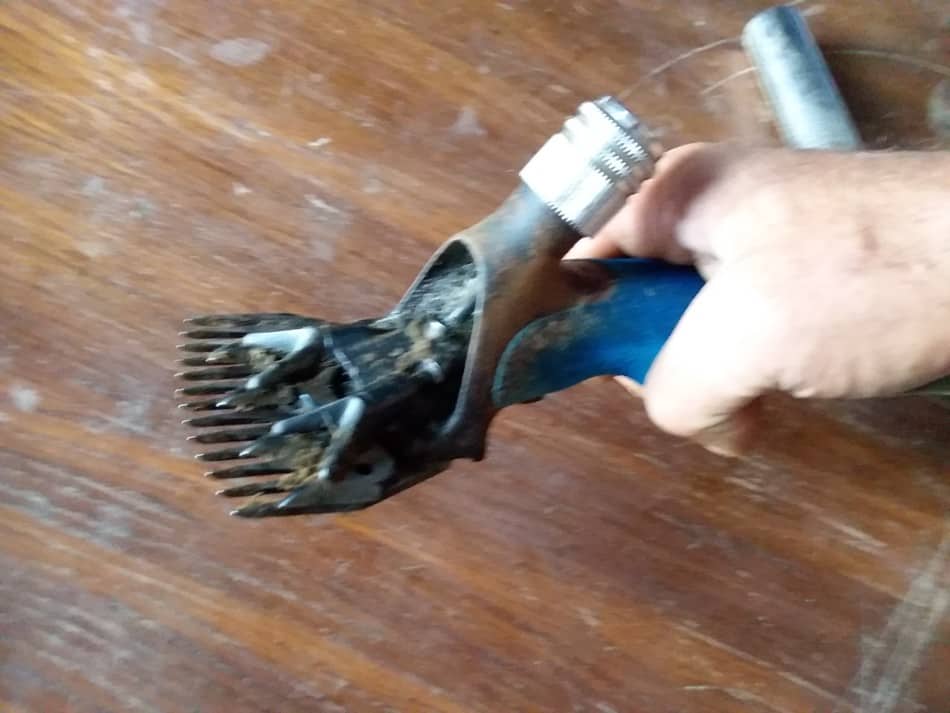
The comb is the bigger of the two blades that sets on the bottom of the clipper head.
It is held in place with screws that screw in from the bottom. If you look at the comb you will see two large notches out of the bottom of it, these are the spaces where the screws go.
Before you get started, make sure the tension knob is a little loose and the screws are backed out a bit to give you some slack to work with.
Setting the lead
The screws do not have a specific hole in the comb. There is a channel that allows you to slide the comb back and forth to line up the cutting edges of both the comb and the cutter.
Positioning the comb is called setting the lead. This can only be done moving the comb, since cutter can only adjust side to side not forward.
Setting the lead determines how much space on the cutting edge of the comb is open above the tip of the cutter.
If you look closely at the working side of the comb you will see the front edge of the teeth is rounded, not sharp. This helps the comb enter the wool.
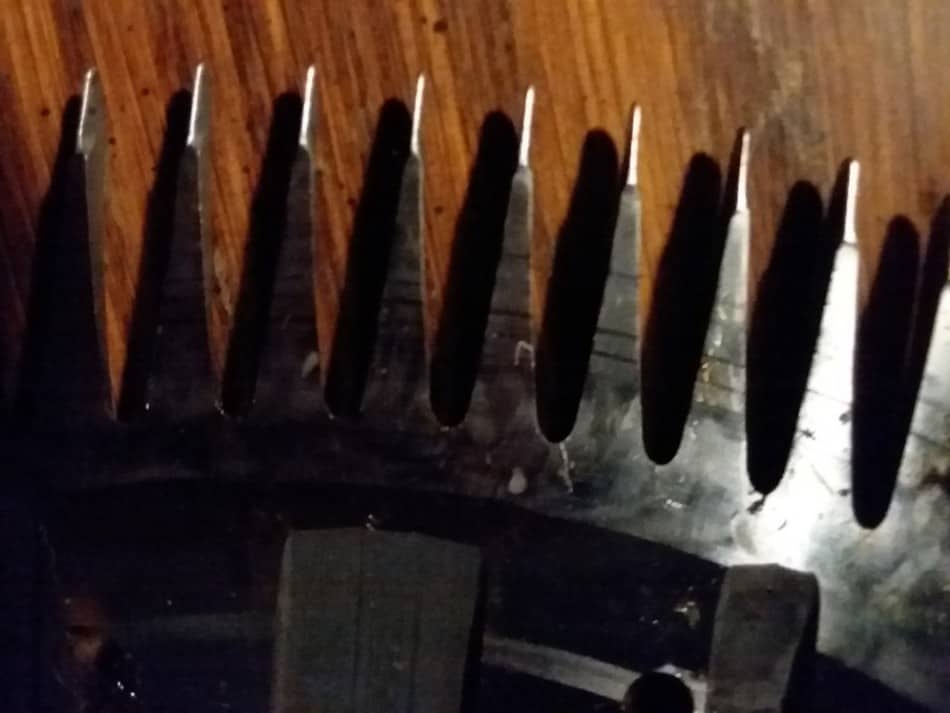
The cutting edge starts back a bit from the front point of the comb teeth. Move the comb so that the cutter goes across the comb’s cutting surface leaving a small gap (1.5 mm) of cutting surface over the tip of the cutter.
The small gap in exposed cutting surface, as seen from above, is the lead.
It is tempting to just place the comb firmly back against the adjustment screws and go. Don’t make this mistake! The screws will set somewhere in the middle of that channel, not the edge.
Once you get the comb into position, tighten the screws just enough to hold the comb in place. They will need fully tightened later once all of your adjustments are made.
Setting the cutter
The cutter is the top blade. It is much smaller than the comb and travels in a back and forth motion over the comb to cut the wool. The cutter is the only blade that moves.
Interestingly enough, the cutter is held in place with pegs that go through the holes manufactured into the surface and by the tension of a spring.
If you took off the comb, the cutter could fall off. It is only held in place by the tension, no bolts.
The main adjustment to be made with the cutters is called the throw. Setting the throw means choosing the amount of side to side length each swipe of the cutter can make.
First step-If you are right handed, you want the cutter to pass as far right as possible, just the opposite for a left handed person.
Second step-Be sure that once you set the throw that the center teeth on the cutter pass completely over the center tooth on the comb. This will give a cleaner cut.
Third step-Tighten the comb screws (the bolts underneath the clipper head).
Ensuring that the cutter passes over the central tooth of the comb on both sides completely will result in a cleaner cut.
Horner-Suregrip Instruction Manual
Setting the tension
The tension knob is on the top of the clipper head. To tighten the knob turn it clockwise. The tension is the only adjustment holding the clipper blades, and the cutting edges, together.
Tension set too loose will cause “feathering”, meaning the cut is not clean and crisp. We call this chewing. Either way, it means you need to adjust the tension.
Tension set too tightly will cause the blades to overheat and dull them out faster.
If you have a shaft drive, you turn the drive shaft cogs with your thumb to test the tension. If you have corded clippers, like you would purchase at most farm stores, you set the tension to keep the blades together then start cutting.
A few things to keep in mind regarding clipper blades
A word of warning here-the cutter is only held in place with tension from the forks. The only thing keeping the forks on the cutter arm off of the comb is the cutter blade.
Running the clippers with the cutter too loose could fling out the cutter and have the comb chew up the forks. Yikes!
A word on tension and dull blades-increasing the tension of dull blades to try to use them on a few more sheep is a good way to overwork (ruin) your clippers. Change the blades when they start to dull.
Keep all working parts well oiled!
Oiling the clippers and blades does not have anything to do with setting the blades, but everything to do with running the clippers.
If you don’t have the clipper head well oiled, you will never have the clippers running well when you are shearing.
Sometimes more oil on the blades is all that is needed to make a slow running set of blades jump back up to proper speed.
To be sure you are getting every area needing oil, check the manual. My guess is that there are a few spots you didn’t see at first, yet still need the oil.
Tighten blades to working tension
Once all of your adjustments are made be sure to go back and tighten the screws holding the comb in place. These screws should be as tight as you can make them.
If something just seems off when you are shearing and tightening up the tension knob doesn’t do the job, double check these screws. Sometimes they can start to work loose.
Why does the blade set matter?
As long as you have a reasonable amount of tension holding the blades together, your clippers will run. So what’s the big deal here? Mainly, the appropriate set of the blades will make shearing easier for you.
Additionally, the blades themselves will last longer before needing sharpened and the wool will be more valuable when the shearing is well done.
If you don’t care about the results then you can do just about anything, but why not put in a bit of care and get a superior result? Especially when the amount of effort is similar, doing it right is probably a bit easier.
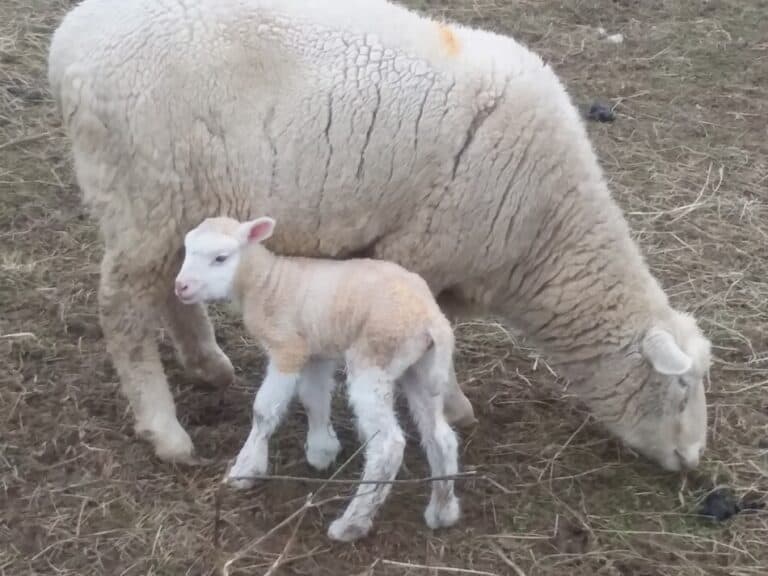
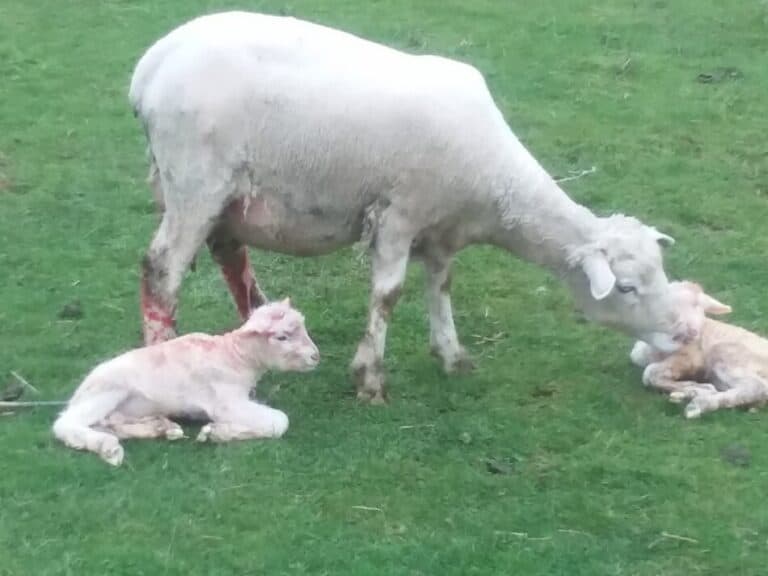
The Benefits Of Shearing Before Lambing is a Michigan State University Extension article giving some guidelines on when the best time for shearing is for your sheep.